Ticket sales with or without a seating plan
Last updated About 4 hours ago
Ticket sales through Ledenbeheer
Events with a seating plan
An event with a seating plan has a detailed layout of the venue, including assigned seats or standing places. Visitors buy tickets for specific locations in the venue.
Tickets for these events are often priced according to the assigned seat or area. The price may therefore vary by location in the venue.
Seating plans are common for concerts, theatre performances, sports matches, conferences and other events where organised seating matters. They help make good use of the venue’s capacity and provide an orderly, comfortable experience.
Create a seating plan in Ledenbeheer
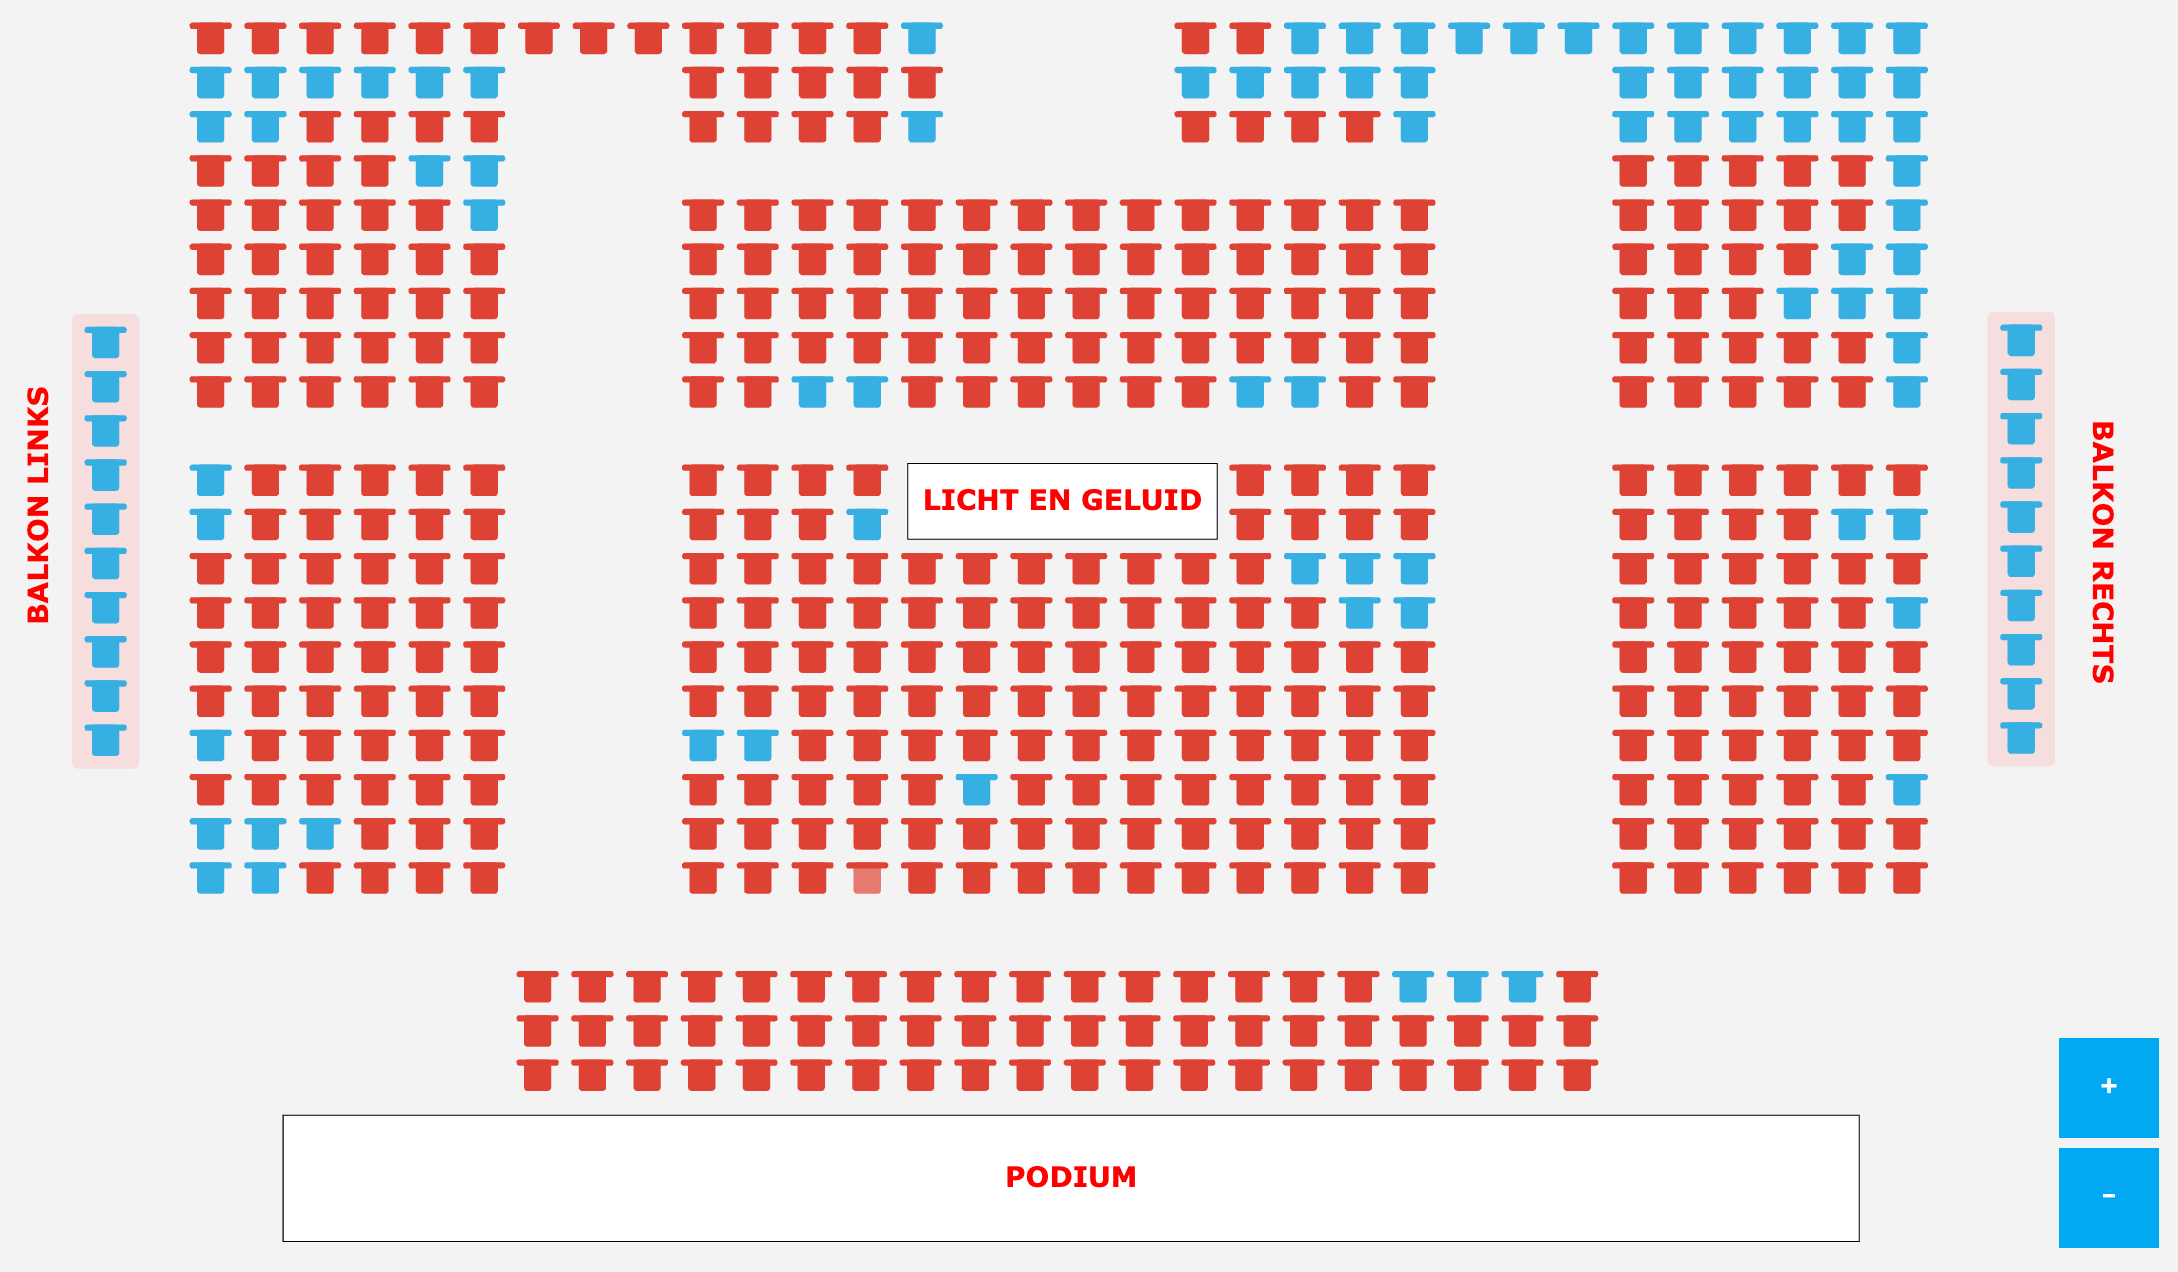
The seating plan contains the venue’s layout, including seats, tables and stands. You can reuse a plan, but you cannot change it once ticket sales have begun. Duplicate it to make changes for another event.
Create a plan under Ticket sales > Seating plans.
Build the venue from sections. A section can be a table or part of a stand.
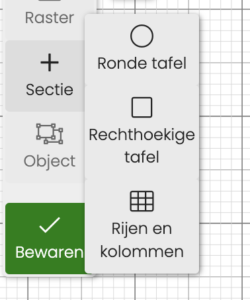
Tables (round and rectangular)
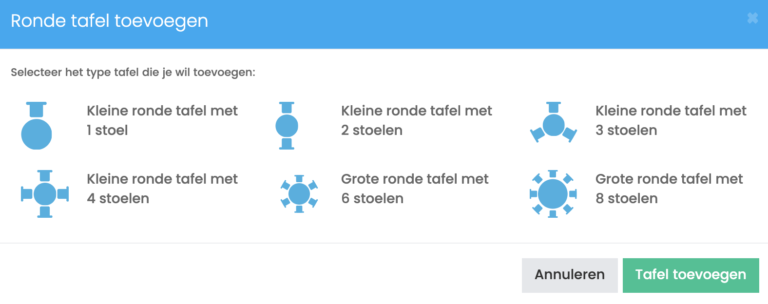
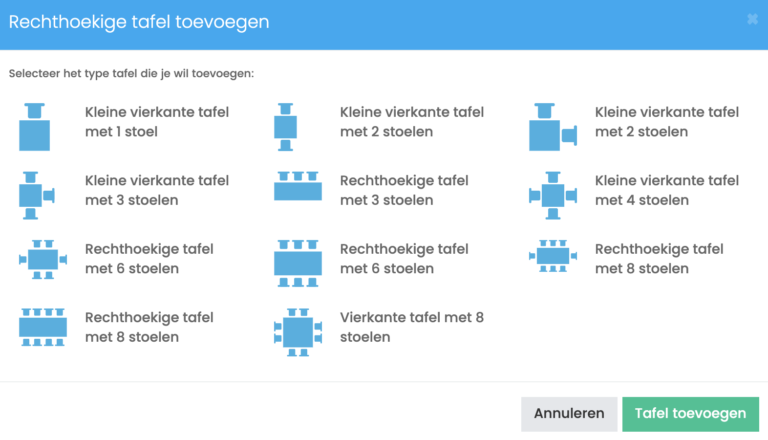
You can add round or rectangular tables with one to eight seats.
Ticket sales with round tables
Ticket sales with rectangular tables
Stand
You can add stands as well as tables.
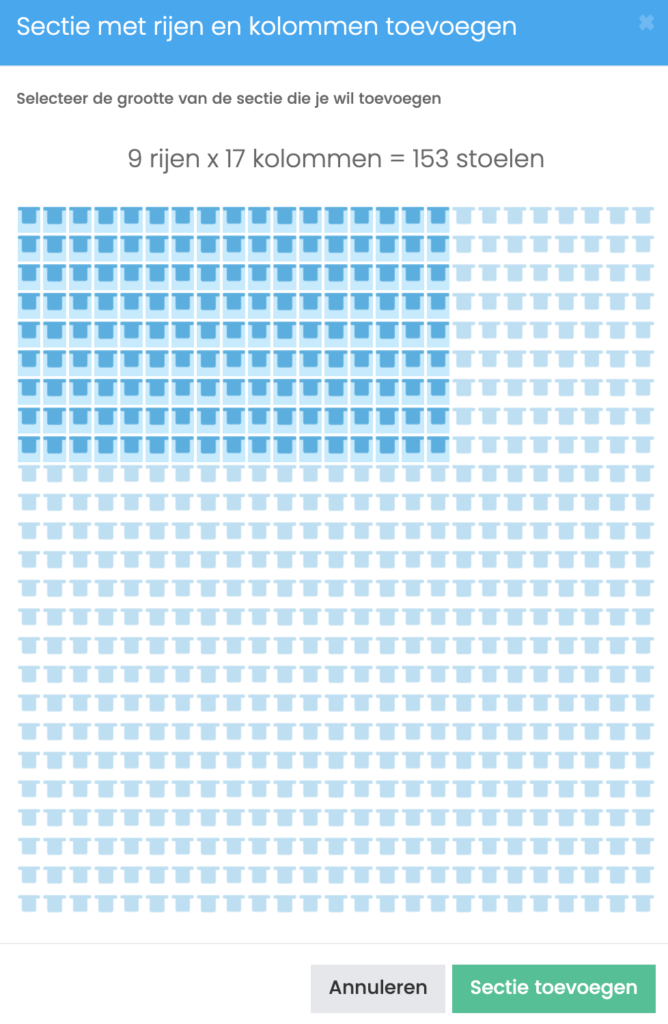
Seats

Seats always belong to a section, such as “Row A” or “Table 1”. PDF tickets show the section before the seat number, for example “Row A – Seat 1”.
Within the event, link ticket types to sections. For example, you can link differently priced “Adult” and “Child” tickets to Row A. Visitors can choose either ticket type for any seat in that section.
Click a seat in the plan to change its settings.
Three types of seat

normal: customers can book these seats
hidden: useful for aisles or reserved technical space; customers cannot see or book these seats
wheelchair: indicates accessible places in the venue
Wheelchair places have a separate capacity
Seats for administrators only
You can mark individual seats as available only to administrators. Members will see these seats as occupied.
After sales begin, you can release these seats for public purchase. This is useful when holding places for sponsors, for example.
Seat numbers
The seating plan numbers seats automatically from bottom left to top right.
For example, the first row has seats 1–25 and the second row 26–50.
If your venue is laid out differently, add each row as a separate section. Numbering restarts at 1 for each section. For example, Section A and Section B can each have seats 1–25.
You can also change each seat number and row name individually to match your venue.
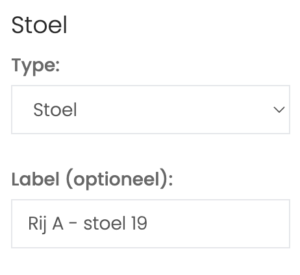
Grid
The plan uses a grid to help align sections. You can hide the grid or make it lighter or darker. With “Snap”, dragged sections align to the grid automatically.
Object
You can place objects on the plan as well as tables and seats. Objects cannot have tickets linked to them, but can mark the stage, emergency exits and other features.
Sales order
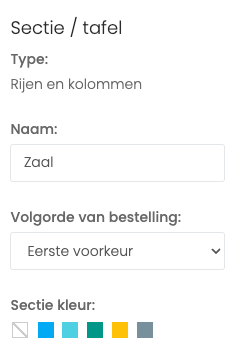
If you have several sections, such as the main floor and balcony, you can sell main-floor seats first. Click a section and use “Sales order” to set the order in which sections become available.
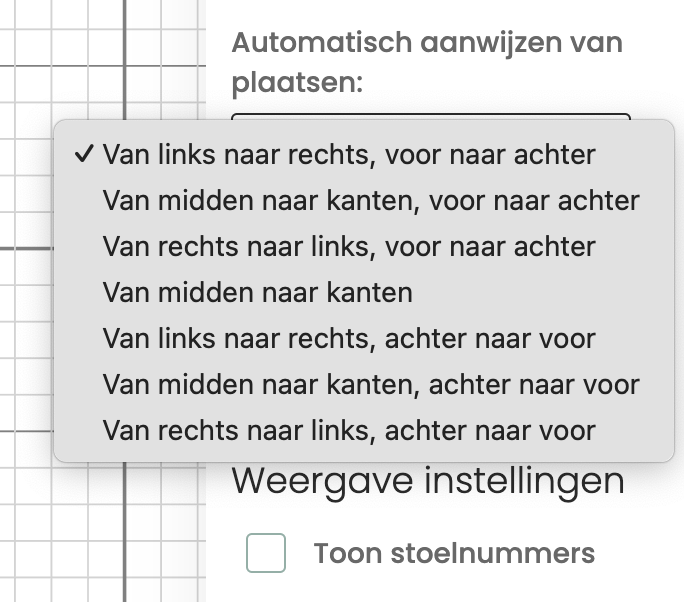
Which seats should be sold first?
By default, Ledenbeheer suggests the front-left seat first. To change this, select the section and choose “Automatically assign seats” in the menu on the right.
IMPORTANT: You cannot change a seating plan once ticket sales have started.
Link a seating plan to your event
Go to Ticket sales > Manage and open the event to which you want to link the seating plan.
For the event type, select “Ticket sales with seating plan”.
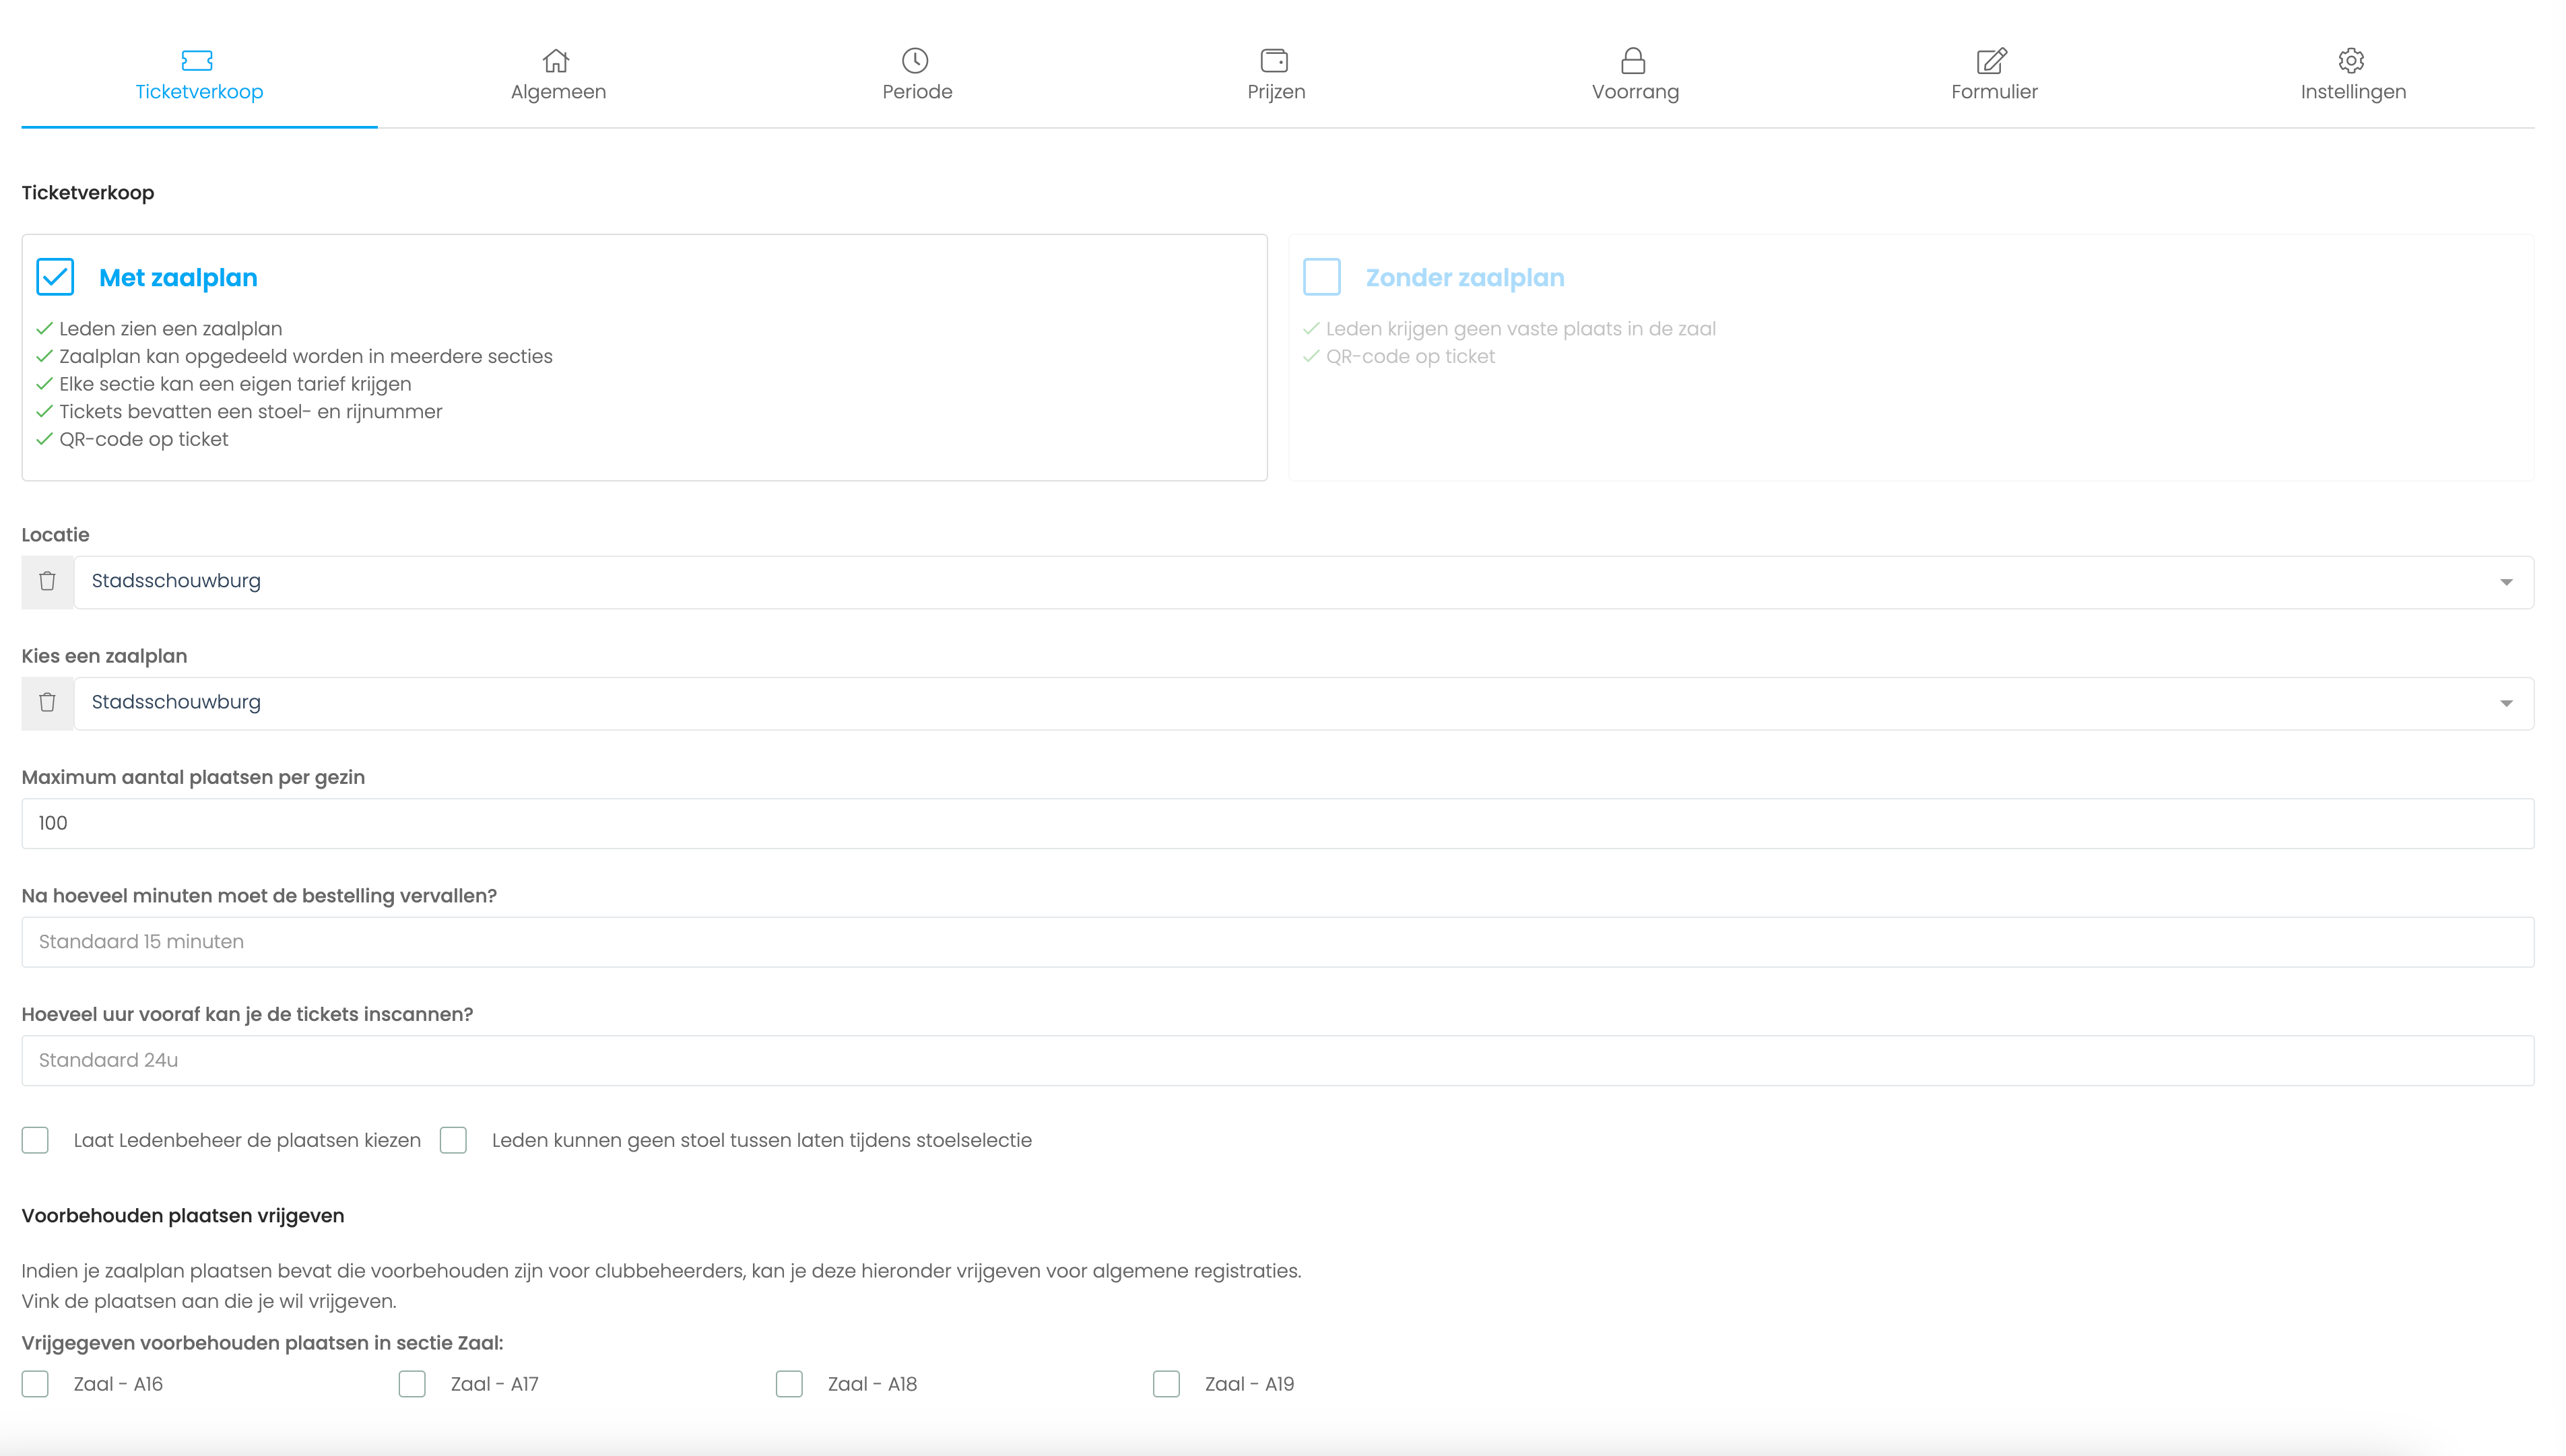
Select the location and the seating plan you created earlier.
Ticket sales settings
Maximum tickets per family
Purchased tickets are always in the account holder’s name, not the child’s. This lets you set a maximum number of tickets per family.
This limit applies per event. To limit tickets across several events, use the priority rules.
After how many minutes should an order expire?
When a seat is selected, it is reserved for the customer for a limited time. Set that time period here.
How many hours beforehand can tickets be scanned?
You can scan purchased tickets with your mobile phone for access control. Set how far in advance scanning may begin.
Optimal seat allocation
Let Ledenbeheer assign seats automatically.
After signing in, visitors choose how many tickets they want. Ledenbeheer then assigns that number of seats automatically, starting at the front of the venue. Visitors cannot change their assigned seats.
Members cannot leave an empty seat between bookings
When enabled, visitors can select only seats at the beginning or end of a row, or next to other selected seats.
Release reserved seats
You cannot change the seating plan after sales begin, but you can release seats previously reserved for administrators to the public.
Capacity with a seating plan
For events with a seating plan, capacity is based on how many seats in the plan are available for sale. You can also set a maximum quantity for each price category and link it to a particular section.
Price category linked to a section:
For example, seats in the stands may cost more, so you can create a separate price category for that section.
Price category without a section:
You can create different price categories, such as adult and child tickets, without linking them to a section. The seats are the same; only the price differs.
Events without a seating plan
An event without a seating plan has no reserved seats. Visitors can move freely and choose where to sit or stand. This gives the audience more flexibility.
Examples include festivals, fairs, street performances, outdoor concerts and general-admission sporting events. Visitors may have access to a designated area where they can choose where to sit or stand.
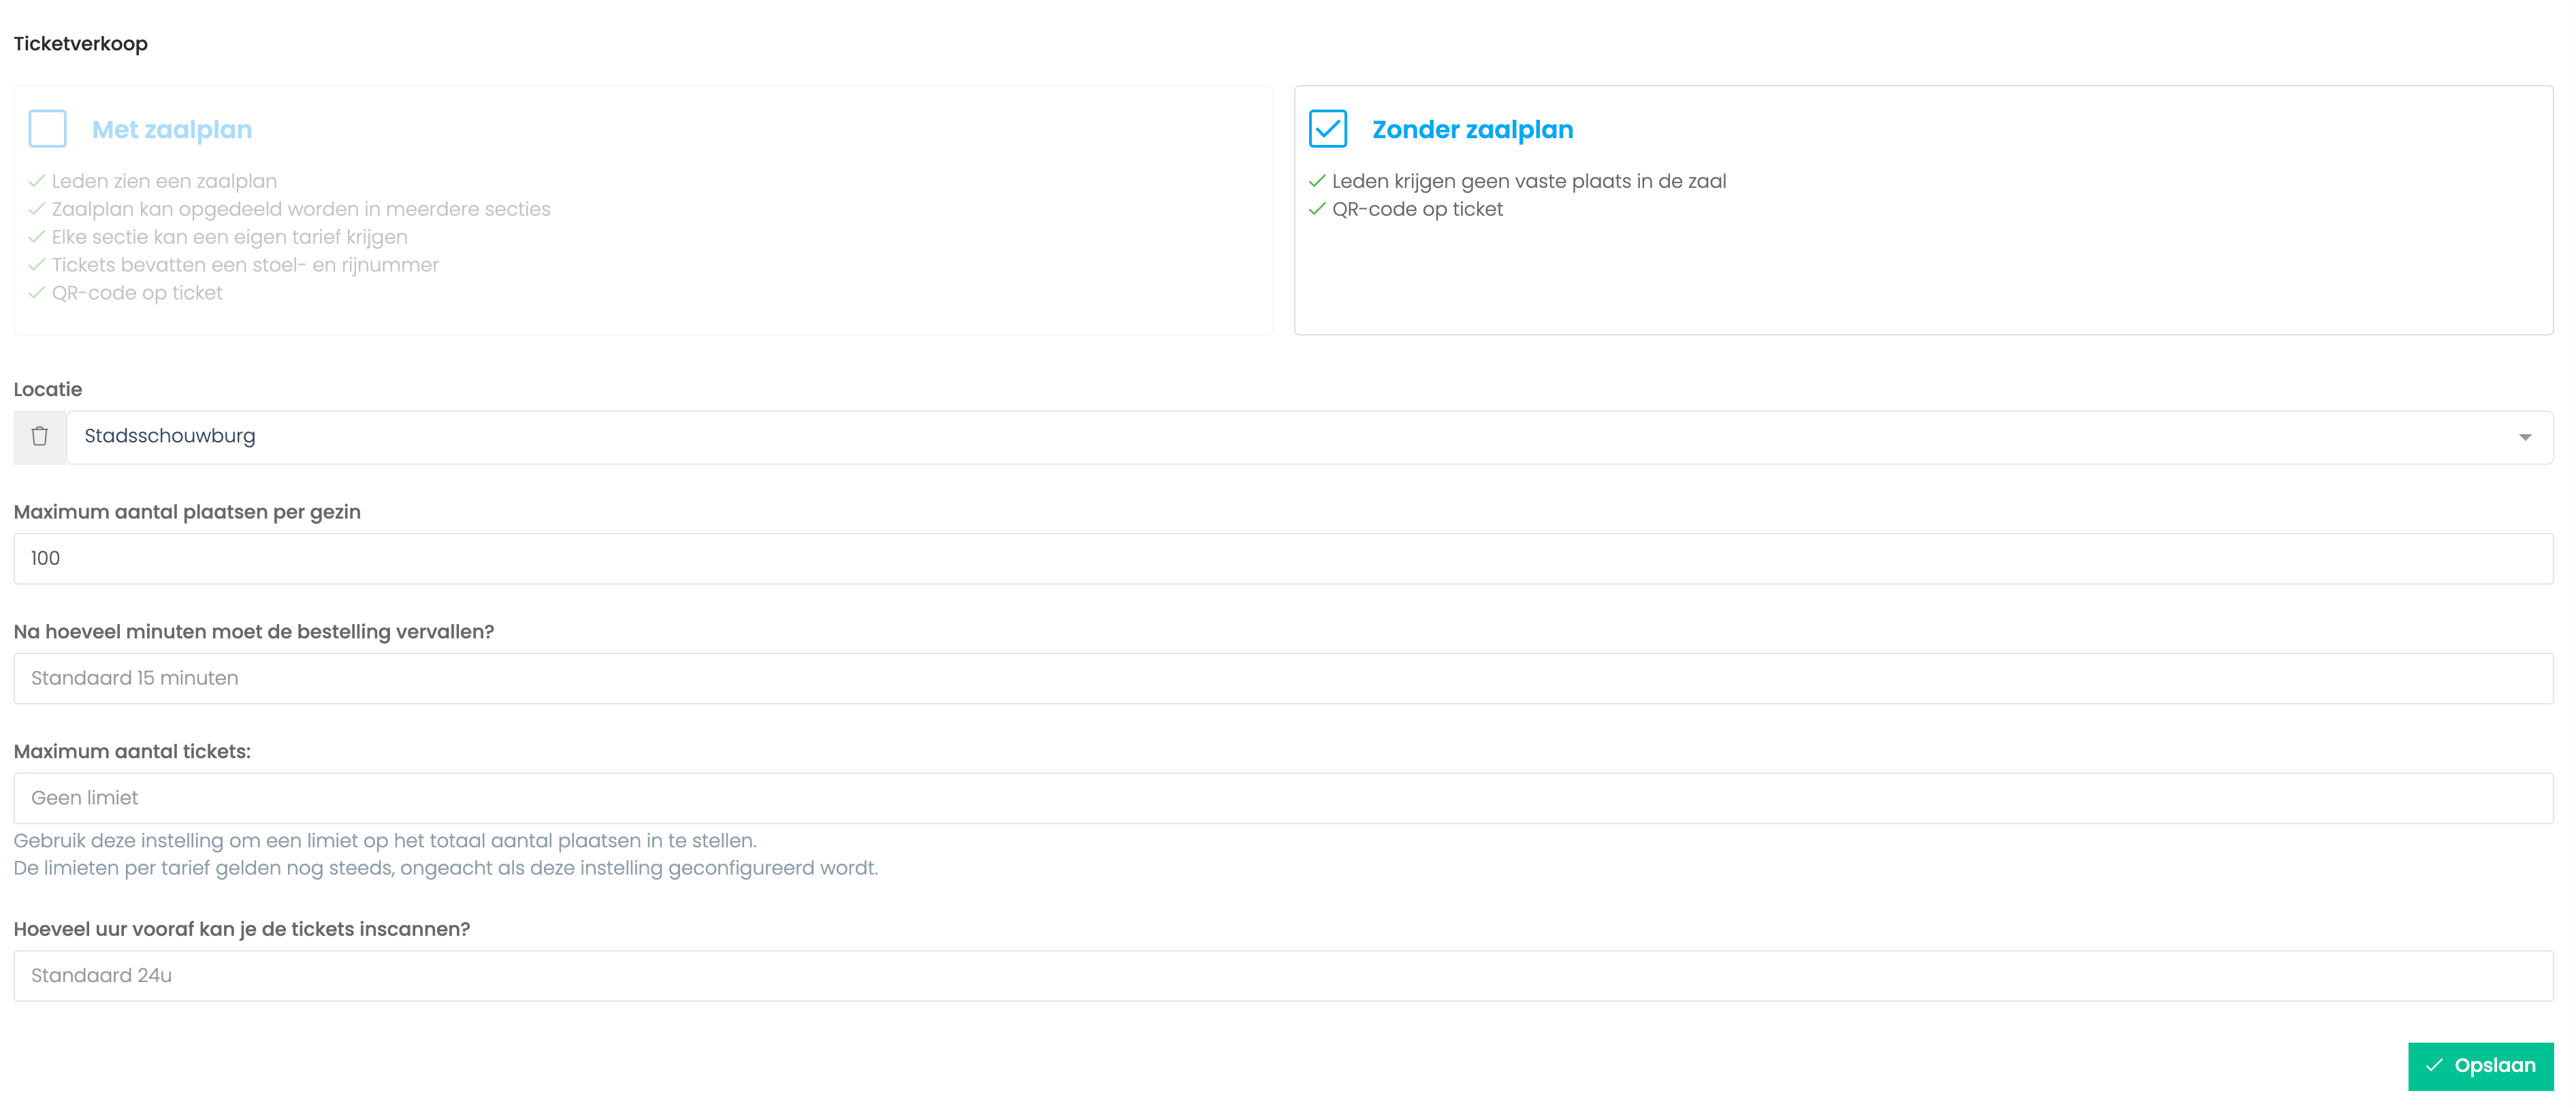
Events without a seating plan share many settings with seated events, but there are key differences:
No seating plan is available.
You must set the maximum number of tickets for sale manually.
There are no reserved seats.
Members cannot choose a seat.
General settings
Configure ticket sales under Ticket sales > Settings.
Pass the ticket fee on to the customer
Ledenbeheer charges an administration fee for each ticket sold. You can find the amount on our pricing page: www.ledenbeheer.be/nl/tarief
You can pass this fee on to the customer or pay it yourself. If you pass it on, the customer sees it at checkout.
The customer pays the administration fee to your organisation.
At the end of the month, Ledenbeheer invoices you for these fees. If your organisation absorbs them, the customer pays only the ticket price.
SMS notifications for the waitlist
Ticket sales use an automatic waitlist. When a place becomes available, the first person on the waitlist receives an email and has one hour to buy the tickets. If they do not respond, the offer goes to the next person, and so on.
Because people do not constantly check email, you can also choose to send an SMS notification when a place becomes available. This is recommended.